Thursday, September 15, 2005

A Garden Bouquet

Tomorrow I am having 4 large pine trees cut down. The flowers in that area will be trampled (literally) to death. So I decided to pick some and make a bouquet. I love to make bouquets from my garden, but this year I have not made a single one. Too busy blogging, I guess - LOL.

Since the area to be murdered has a lot of asters that is where I started with the bouquet. Then I just looked for more purple and pink. There is not much left in those colors, so butterfly bush and sedum AJ won by default.


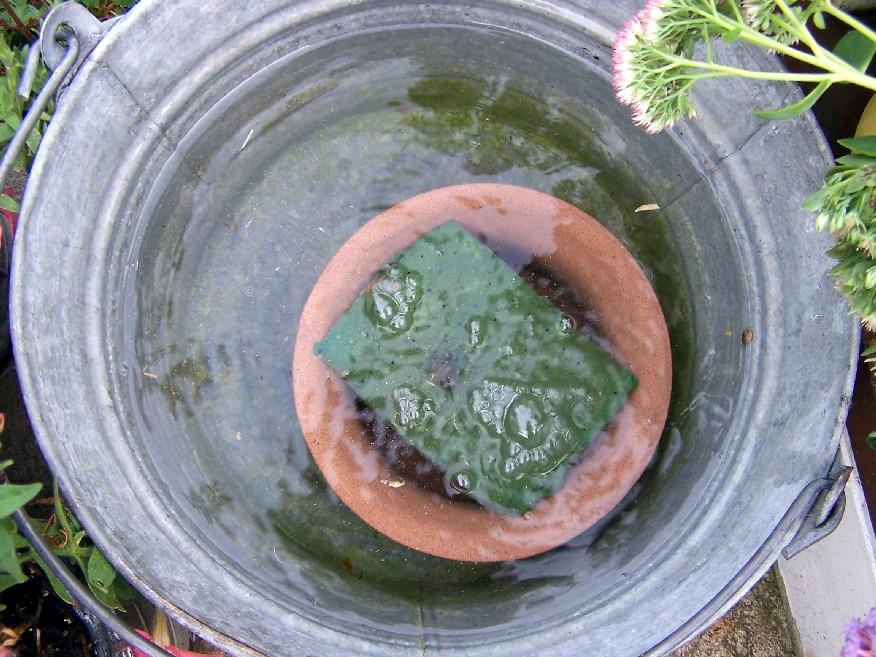
I started with a heavy container and just stuck a piece of floral foam in it (make sure it is the kind that absorbs water). The foam should be slightly bigger than the container opening so that when you jam it in it stays put.


Then just sink the entire thing in a container of water and let it sit until the foam has fully absorbed the water.


Pull it out and start sticking flowers in until you have something that pleases you.

Very, very simple.

I may leave this one outside because asters tend to stimulate the nasal passages (in other words, they STINK).

Update: I decided to bring it inside after all. It has all the right colors for my living room, so that is where it is. Since I never sit in there, the aster smell won't bother me. I will just get to look at it now and then as I pass by. You might notice that I added a little silver king artemisia.

English Muffin Bread Recipe

For those requesting that I post the recipe, here you go. It is very easy to make. You don't even have to knead the dough. The most difficult part is stirring in the flour toward the end as it does get very stiff.

This bread MUST be toasted. It does not taste good at all untoasted. If you like English Muffins, I think you will enjoy it. It is crunchy on the outside and warm and chewy on the inside.

English Muffin Bread

5 cups all-purpose flour, divided
2 packages (1/4 ounce each) active dry yeast
1 Tablespoon sugar
2 teaspoons salt
¼ teaspoon baking soda
2 cups warm milk (120 – 130 degrees)
½ cup warm water
cornmeal to sprinkle on top and on pans

In a large mixing bowl, combine 2 cups flour, yeast, sugar, salt and baking soda.

Add warm milk and water (I use the microwave to heat until it is very warm when you stick a finger in, but does not actually burn your finger-if it is too hot it will kill the yeast).

Beat on low speed of an electric mixer for 30 seconds, scraping bow occasionally.

Once combined, beat on high for 3 minutes (don’t skimp on this step as you need to incorporate air).

Stir in the remaining flour (batter will be STIFF). Do not knead.

Grease two 8-1/2-inch x 4-1/2 inch x 2-1/2 inch loaf pans.
Sprinkle pans with cornmeal.

Spoon batter into the pans and sprinkle cornmeal on top.

Cover and let rise in a warm place until doubled (about 45 minutes).

Bake at 375 degrees for 35 minutes or until golden brown on top.

Remove from pans immediately and cool on wire racks.

Slice and toast.

Spread thickly with real butter—take your first bite, wipe up the dripping butter & continue munching your way to ecstasy!

Wednesday, September 14, 2005

The last act before the curtain falls


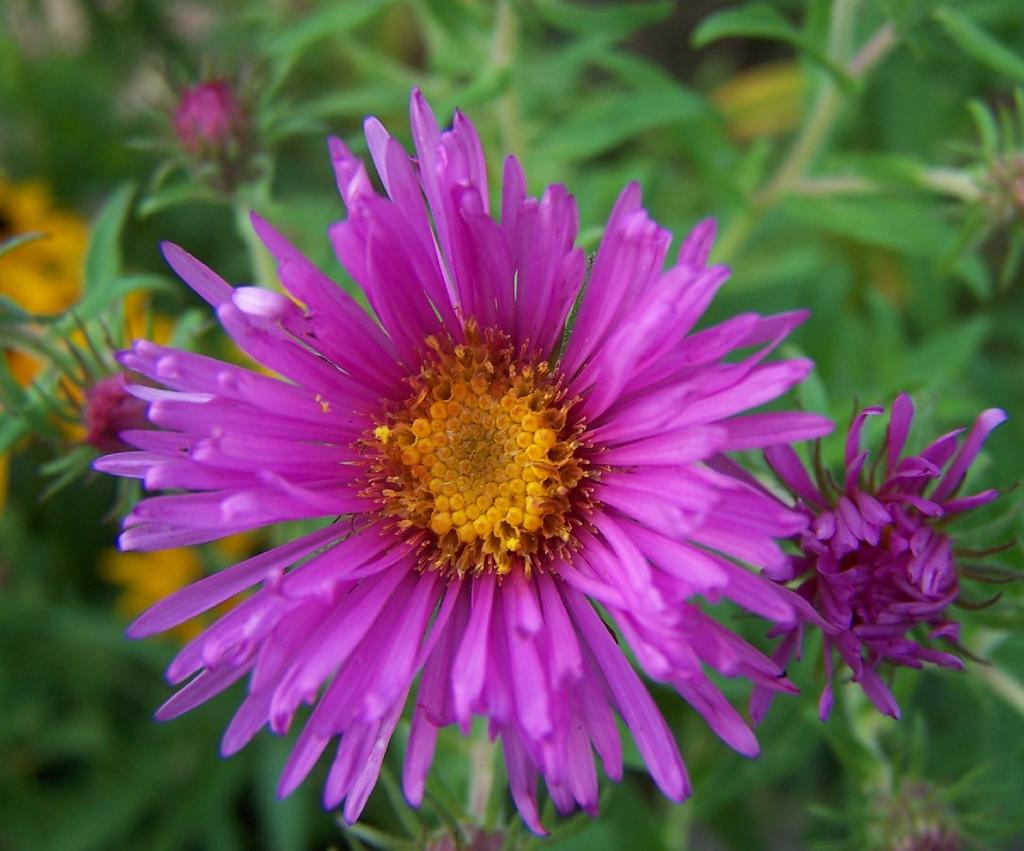
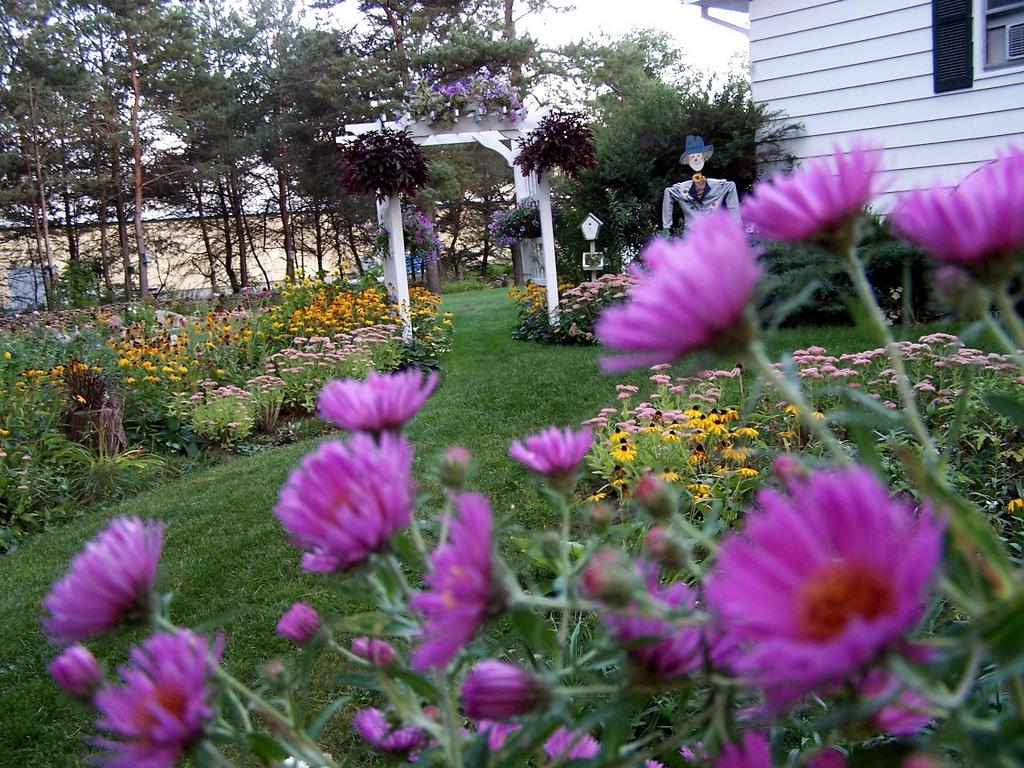
I almost hate to see the asters bloom. When I see asters, I know the end is near.
This year they are blooming a little earlier than usual because I did not cut them back. Most years, I cut them back 2 or 3 times, stopping around July 4. I do this to keep them more compact. Most years they grow over 5 feet tall and tend to fall over. This year I never got around to cutting them back. For some reason they are also shorter than normal. I do like that they are blooming now while I still have other flowers in bloom. Usually by the time they open everything else is finished.

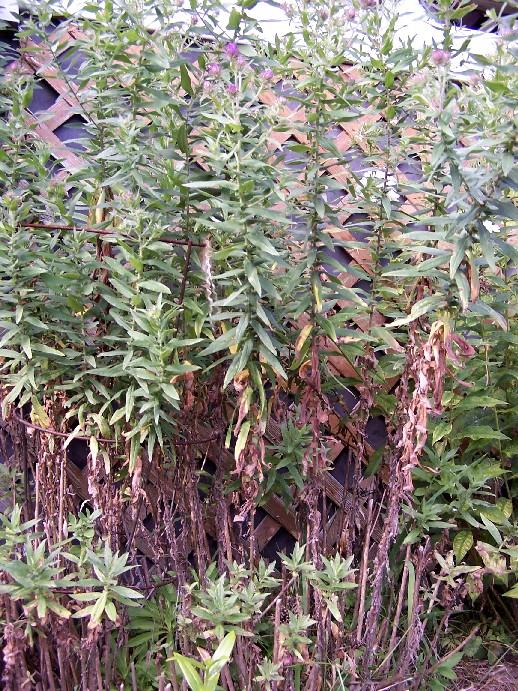
I have a lot of asters (even though I removed huge clumps of them last year). I have a rocky relationship with asters. They have weedy-looking foliage. The first two feet or so turn brown and ratty long before they bloom, so they must be hidden behind other plants to look presentable. They tend to flop over. See how terrible the lower portion is!


Every year I consider removing them all. So far they remain because:

#1 - I have so many it would be a major task to dig them all out
#2 - I would need A LOT of new plants to fill the space
#3 - They are easy to grow
#4 - I think the flower is attractive
#5 - They make nice fall pictures :)

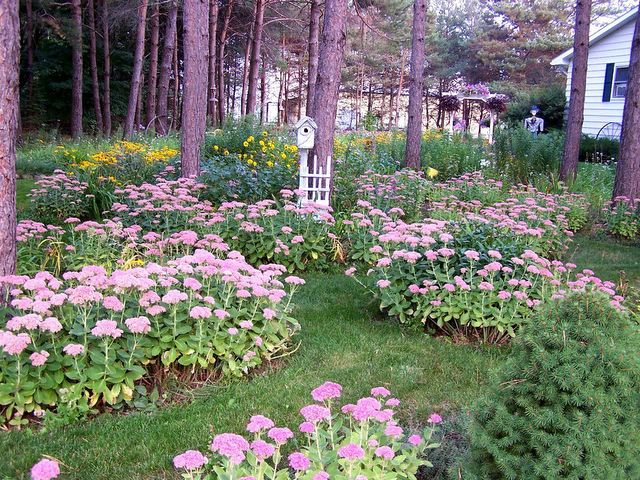
The Fall Side Garden


So many perennials are so fleeting. It is rare to find one that blooms more than three weeks. As gardeners we are always seeking the perfect combination of plants, choreographing bloom times so that we always have one plant coming into bloom as the prior plant fades into its state of hibernation. It is often frustrating -- usually we can get a small garden to look good (even great) for one season, but then we have only sporadic blooms the remainder of the gardening year.

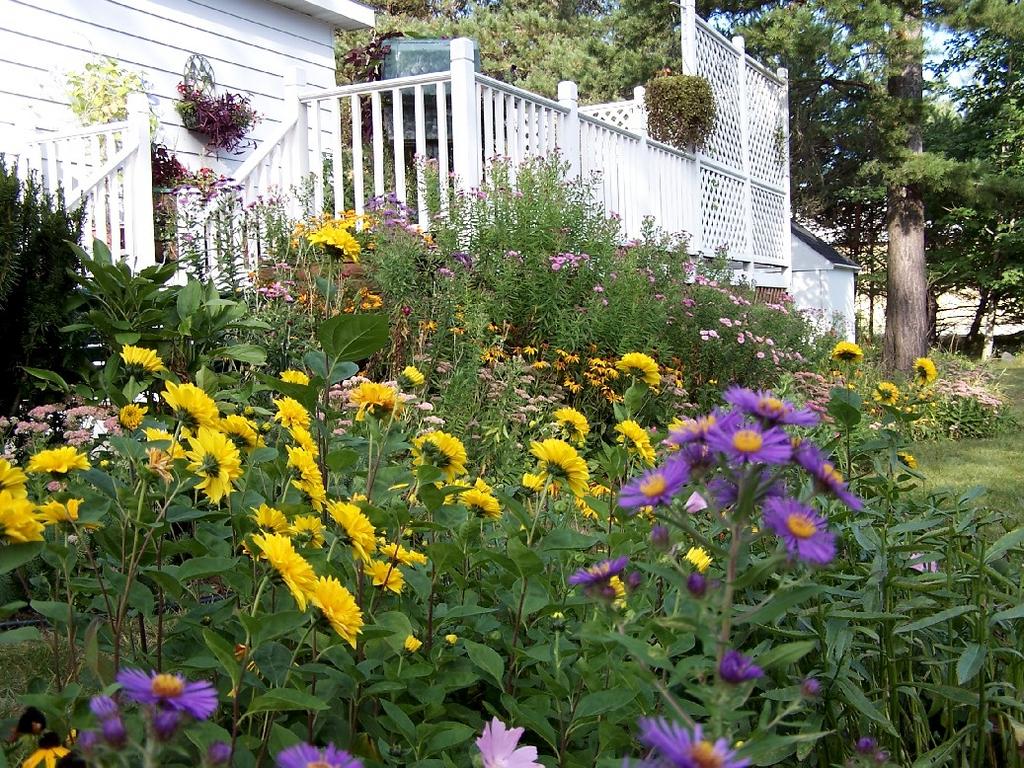
I have shown you this area twice before - in the spring and in the summer. Now I am showing you the same area in the fall.

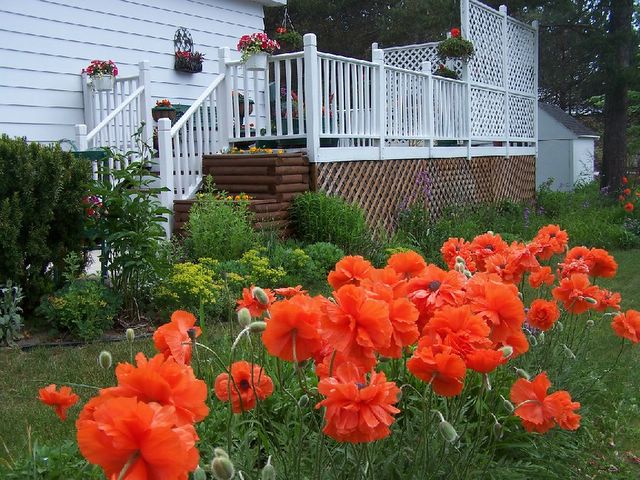
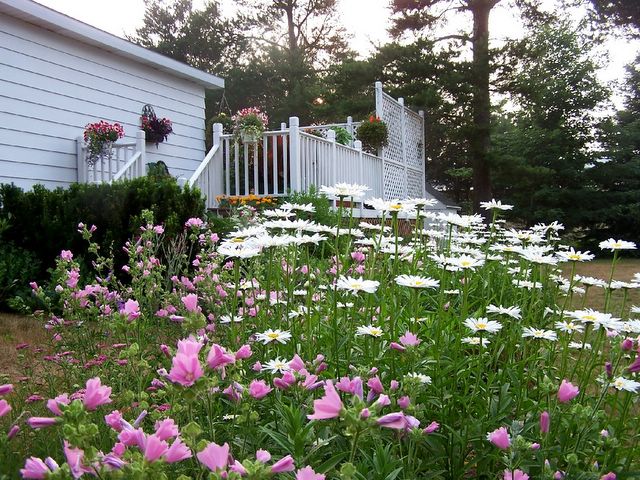
I think this is one area I have succeeded in getting right. I like that it is totally different each season - brilliant orange in spring, subdued pink/white in the summer, and bright yellows/purple in the fall.

It is a small area jam packed with flowers. I am amazed that they continue to bloom as well as they do, being planted almost on top of each other. This spot gets almost no additional water as my hose won't reach unless I put two together and the only time I will go to that trouble is in a severe drought. I weed it thoroughly in the spring and rarely thereafter. I do cut down the spent poppies, mallow and daisies as soon as they are finished to make room for whatever is coming next.

Right now it has black-eyed Susan, 'Annette's flower' (the yellow bush daisy), an aster or two, and, of course, Sedumn AJ.

I think this area looks pretty decent in all seasons with very little work on my part.

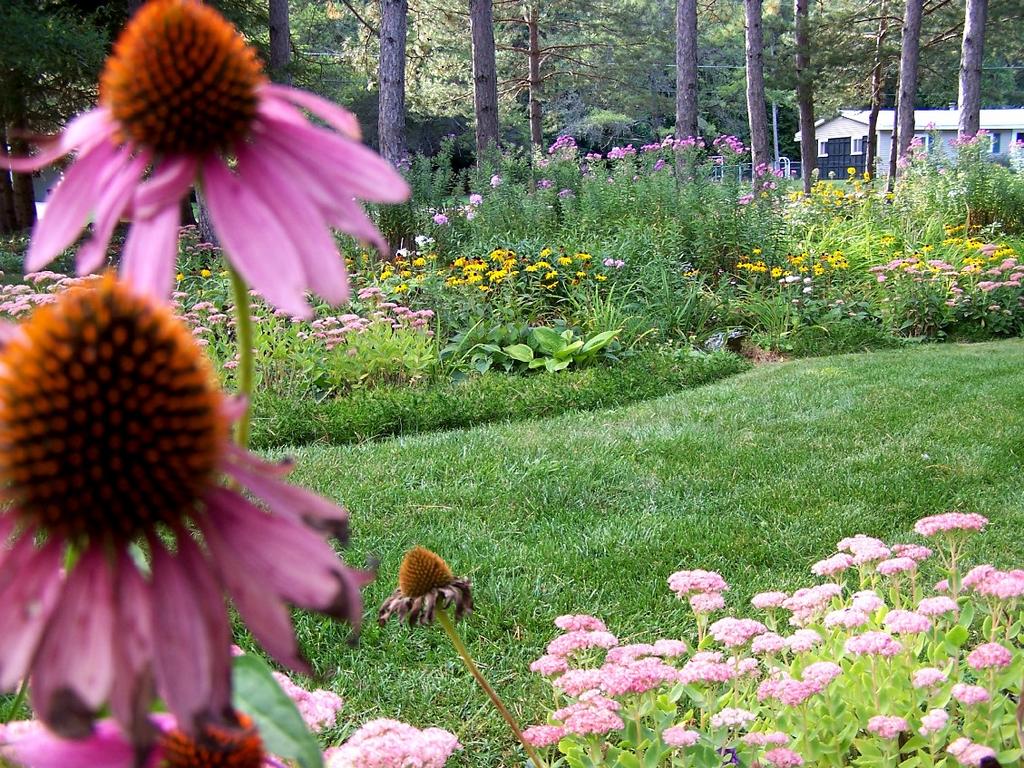
Here is a picture from the other direction so that you can see the full size of it.

Tuesday, September 13, 2005

World Naked Gardening Day

And I missed the celebration!

Did you all know that September 10, 2005 was "World Naked Gardening Day"? Yes, indeed, a day dedicated to gardening in the buff.

You can read about it here

But be forewarned that they do have pictures of those "gardening as nature intended".

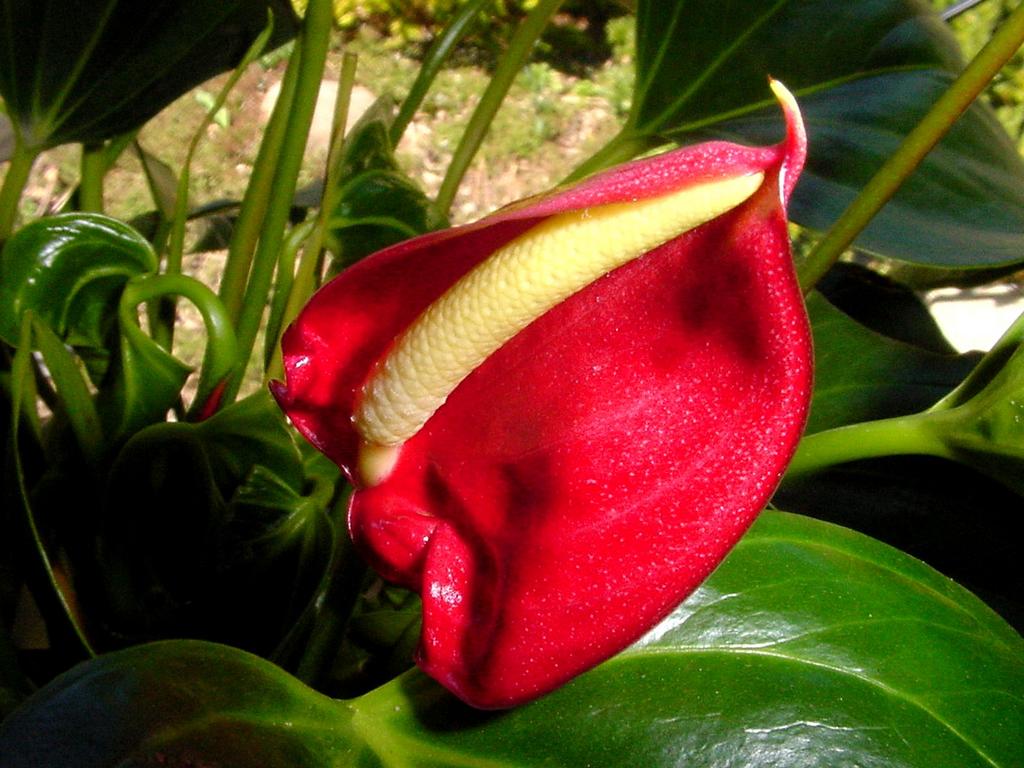
Obscene Flower?


Sorry, just couldn't resist posting this peace lily.

Woman Cannot Live by Gardening Alone


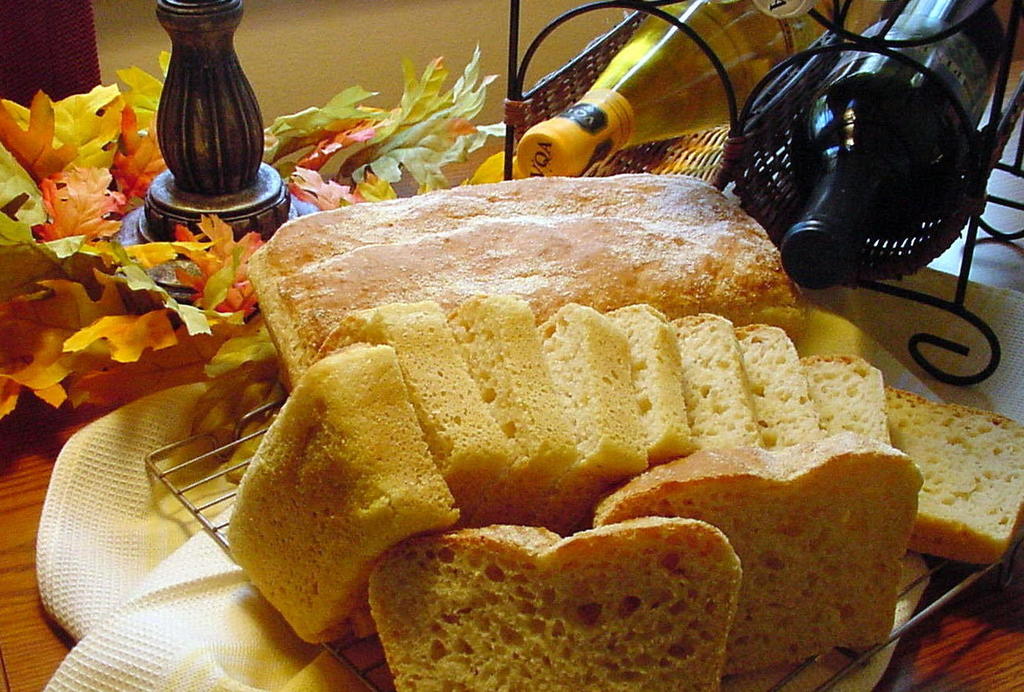
Sometimes I do have to do something else. I enjoy cooking/baking, but rarely have time to do anything beyond the preparation of dinner during the summer months. I have been hungry for my English Muffin Bread, which I bake and then freeze to take to work. This stuff is sooooooooooo delicious toasted and spread rather generously with butter (real butter if at all possible). See all the holes in it? Just like an English Muffin. One of the great pleasures of my life...

Playing with your Camera


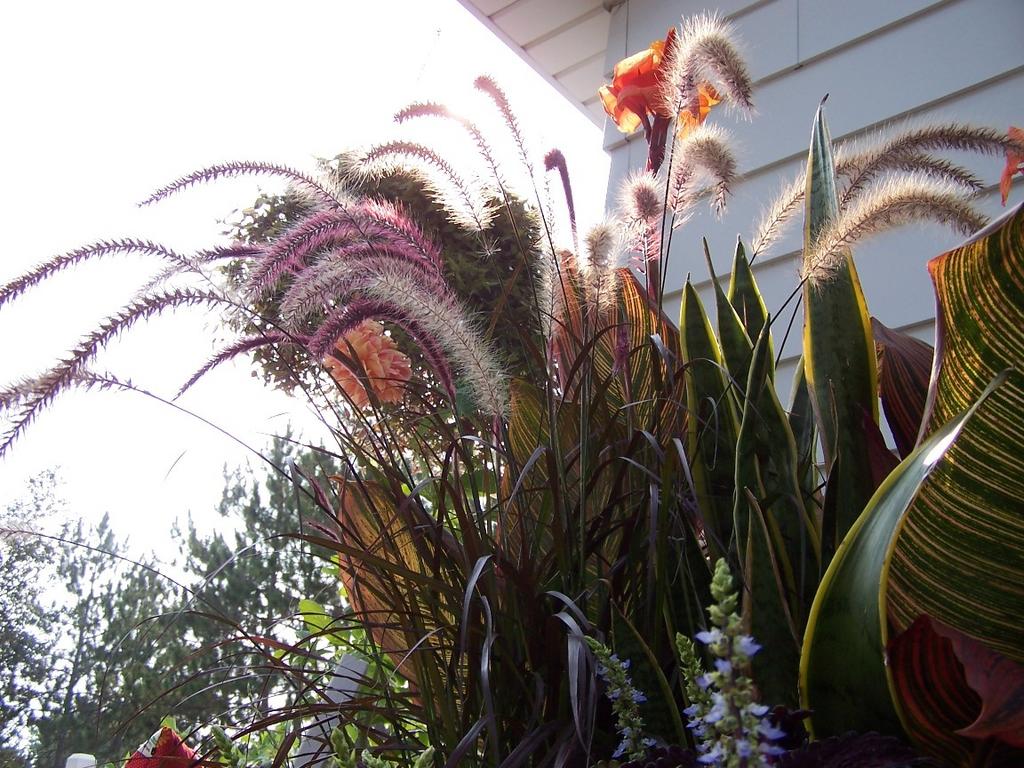
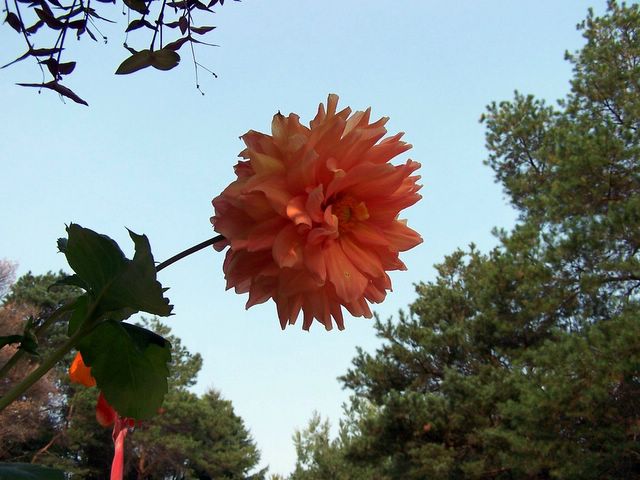
It is fun to take pictures at odd angles just to see what you will get. Try sticking the camera into the plant and shooting up. You can get some interesting shots.

Monday, September 12, 2005

Bee on Chive


I have a few chives that are putting out a second bloom. My gardens are FULL of bees now due to the Sedumn Autumn Joy.

That is something I may not have warned you all about. If bees, hornets, wasps, etc. bother you, don't plant the AJ! They all love it and it is not uncommon to have 4 or 5 of the various stinging insects swarming around each plant. They have never stung me, but I still get a little nervous when I have to get this close (within 3 or 4 inches) to get a close up pic.

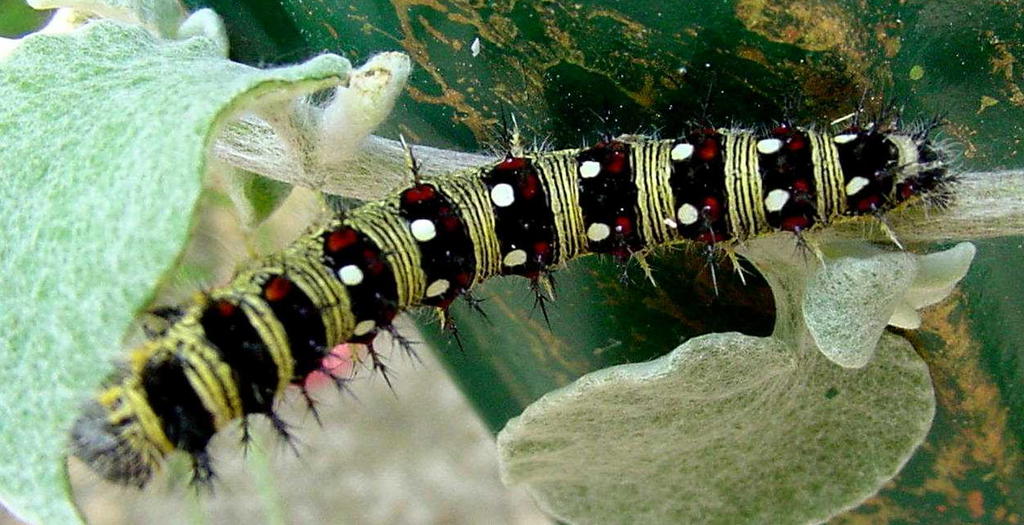
I don't know what this caterpillar is.

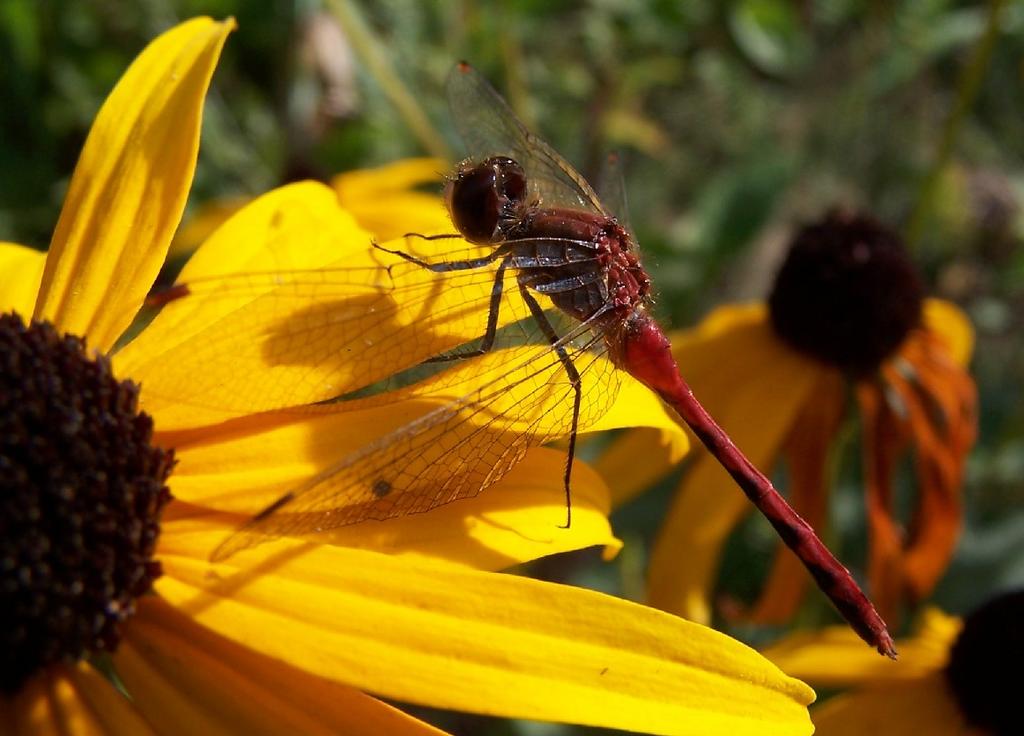
I really don't know much about bugs, insects, etc. I just like photographing them.

Sunday, September 11, 2005

Pretty in Pink

The Sedum AJ is progressing nicely.


Good bye Echinops

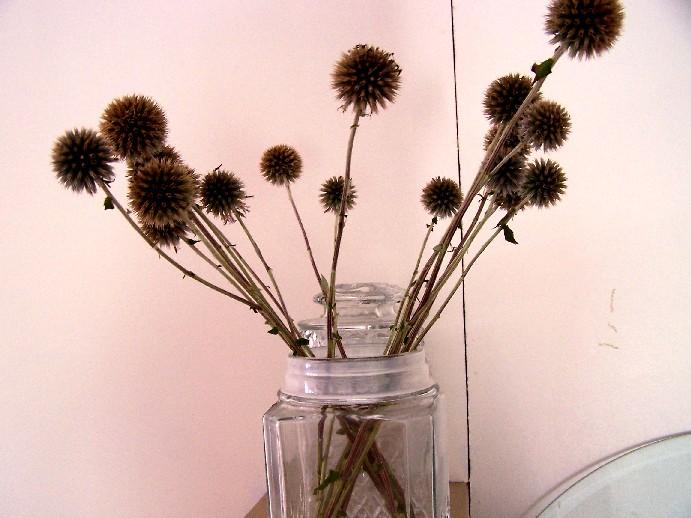
Earlier this afternoon I cut down my globe thistle (Echinops ritro) so that I can dry it.


Before setting it out to dry, I like to remove the leaves. You must do this very carefully as the leaves have little pickey things all around the edges. It really hurts if you stick your finger with them!


Once I remove all the leaves, I just stick them in a tall container and set them on the garage shelf. In about two weeks they should be good and dry and I will then paint them gold.


They just may end up crowning one of my Christmas trees this year -- If they do, I will certainly show you how they turned out.

I Didn't Intend to Rearrange the Deck Again...


All I had planned to do today was dump a few ratty-looking containers. I dumped this little wooden wheelbarrow and then I had an idea (imagine blinking lightbulb over head)...

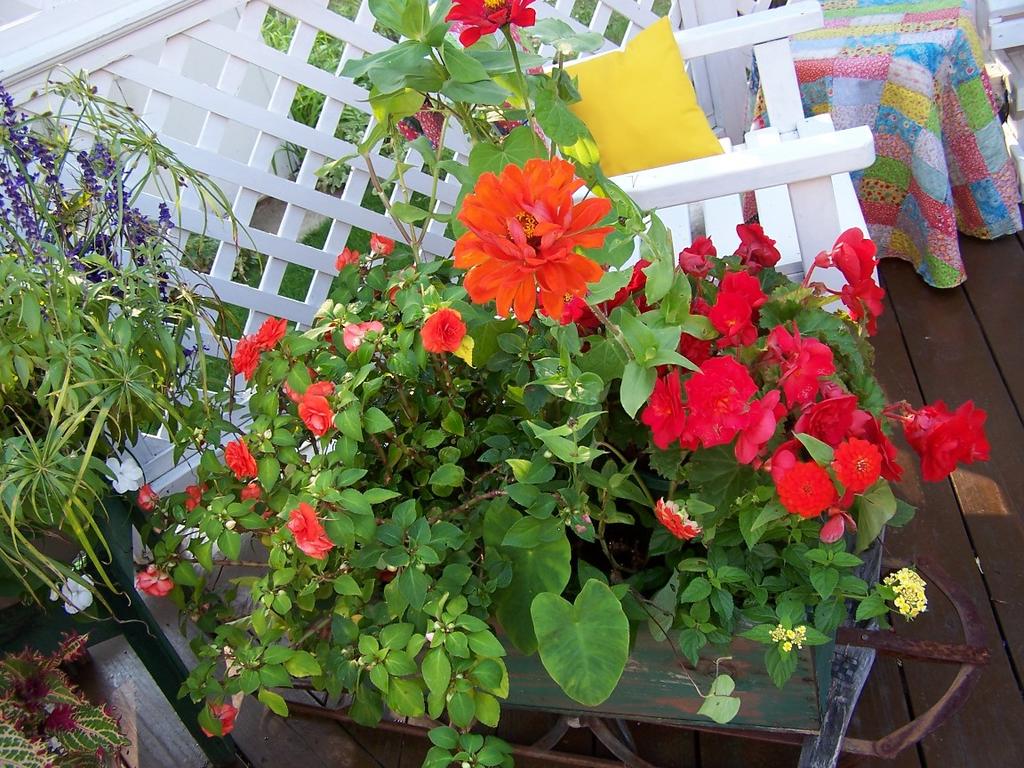
maybe that big beautiful red double impatiens I have on the table in the woodland area would look nice inside the wooden wheelbarrow? Hmmmmm....I rarely go out to the woodland area any more and it is such a pain to remember to water that one...so much easier if it was right on the deck with everything else where I would be able to enjoy it for the last few weeks of the gardening season.

So off I trot to retrieve the big red plant.

It looked even better than I had imagined...


hmmmm...maybe I should remove the pink zinnias from the big sled container....
O.K. Now it is way too bare.


remember, I never wanted pink to begin with...I thought I had purchased all red and orange, but when they bloomed I had more pink than anything else. Maybe I could stick the big orange double impatiens inside the sled?

Ah, yes, that worked, too. If only I had more red in the sled????


Why look! There is a good-sized bright red begonia...I yank out even more plants from the sled until I have enough space to stick the begonia container in there...


I love the look! Red and orange was the color scheme I wanted to begin with.


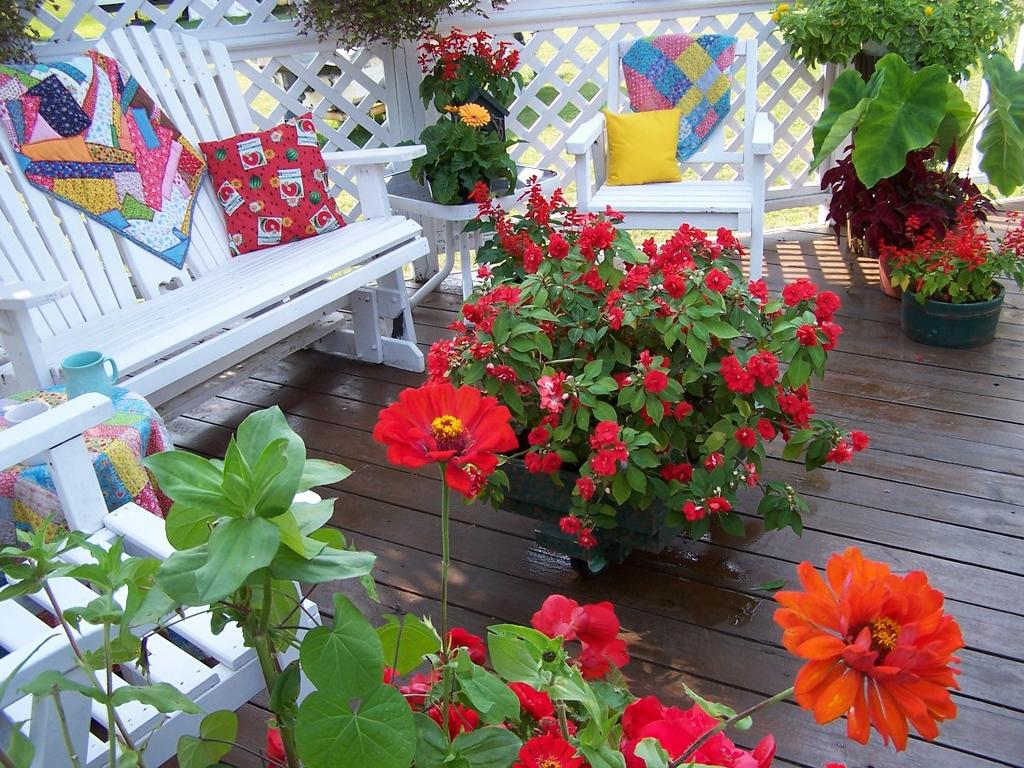
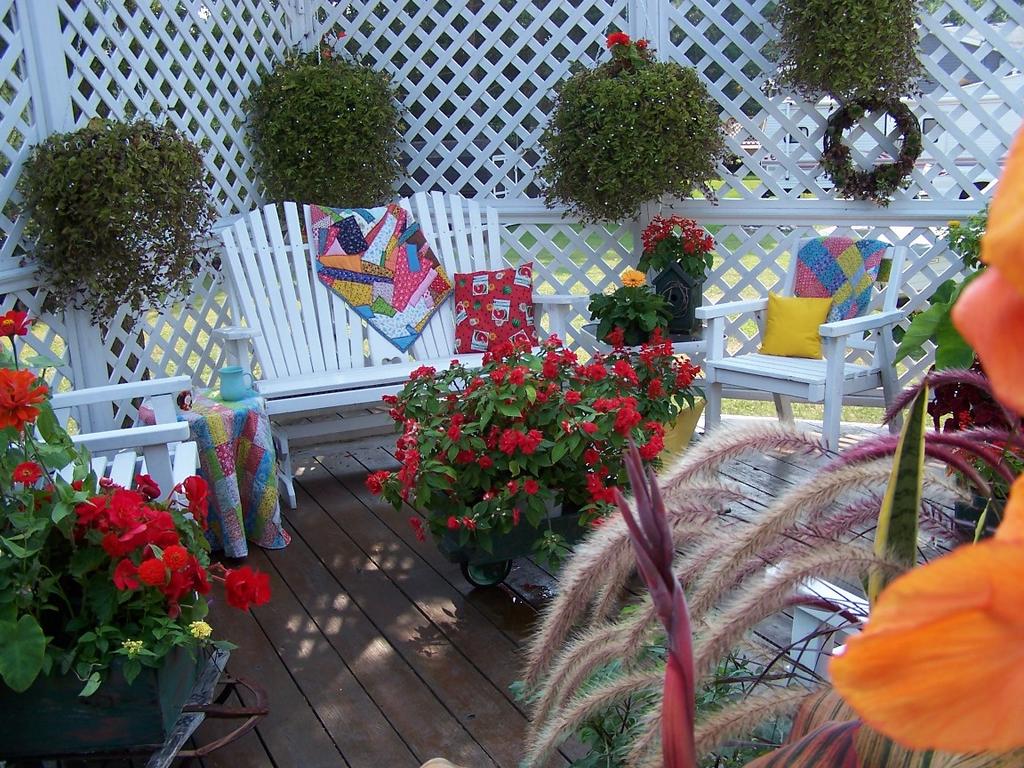
And so began a few hours of regrouping until I ended up with this...


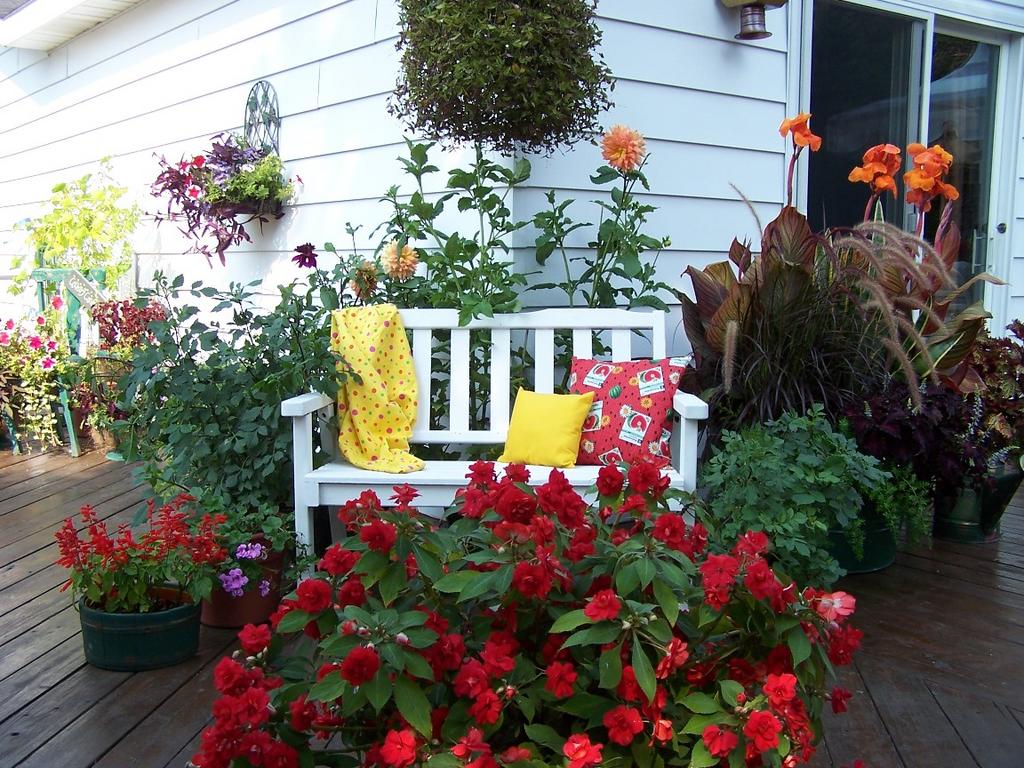
I was tired of looking at the grill planter while sitting on the glider. So I decided to move that and put the white bench in its place with the large 'peaches and cream' dahlia behind it. Then I called DH to help me move the giant-sized canna container. It is my favorite container of all and I wanted it where I could enjoy it. I can now see the purple fountain grass plumes blowing in the breeze from the family room and kitchen.


Here is my view from the glider where I almost always sit.


I am happy now. I probably have from as little as two weeks to as many as four weeks before I will be have to remove it all. Until then I will enjoy the fruits of today's labor.

Still Stalking the Little Creatures


Almost hidden hummer...


White moth on Sedum Autumn Joy


Hummingbird Moth

'Annette's Flower' changes

Yesterday I noticed this single bloom amongst the doubles. I don't recall this ever happening before, but I do like it.

Thursday, September 8, 2005

Purple Fountain Grass Revisited


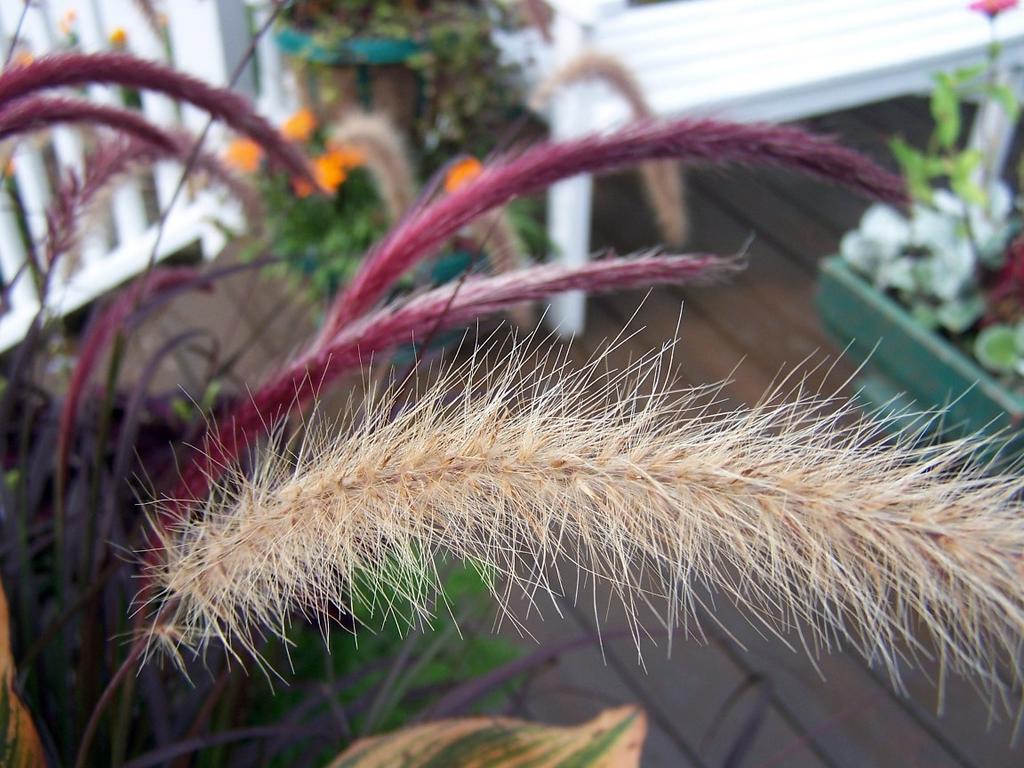
I have really been enjoying the life cycle of this purple fountain grass. This is the first time I have grown it and I will certainly look for more next year. The grass is a lovely purple color and when the plumes first appear, they, too are purple. As they mature, they turn a brown color and all these little seeds appear. Has anyone saved the seeds and successfully grown the grass the next year?

Here is a comparison of the new & the old plumes.

Dinner Fit For a Queen

.


A toasted tomato sandwich and a scoop of potato salad.

Note that there is no bacon, no lettuce, nothing to jumble up that sweet fresh flavor of my mother-in-law's tomatoes.

It just doesn't get much better than this

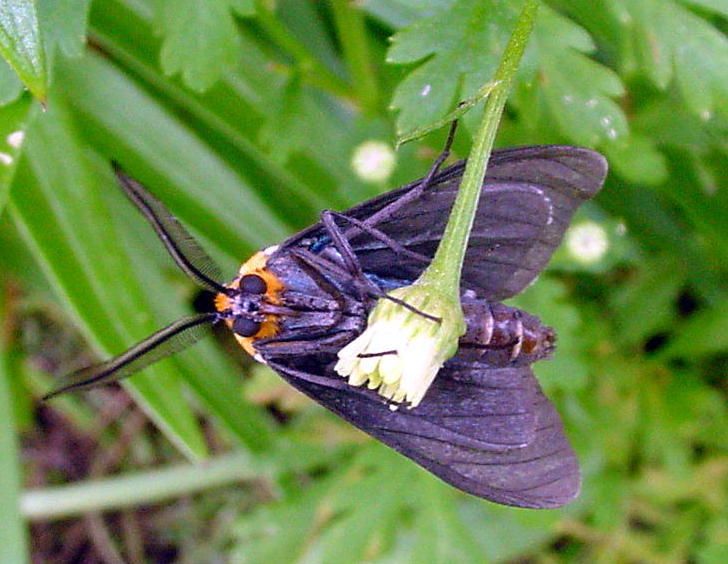
What kind of moth am I?


I don't know what this moth (?) is, but isn't he cute?
Related Posts Plugin for WordPress, Blogger...